Tuesday 20 December 2016

Spooky

Fellow Crafters,

I am super excited to be Guest Designer at A Vintage Journey for the Spooky challenge.
Here is my take on SPOOKY. Come October it onsets a lot of festivities. One of them is Halloween. Trick or treat,Spooky, Pumpkins,Jack -o- lantern and many such themes are displayed everywhere.


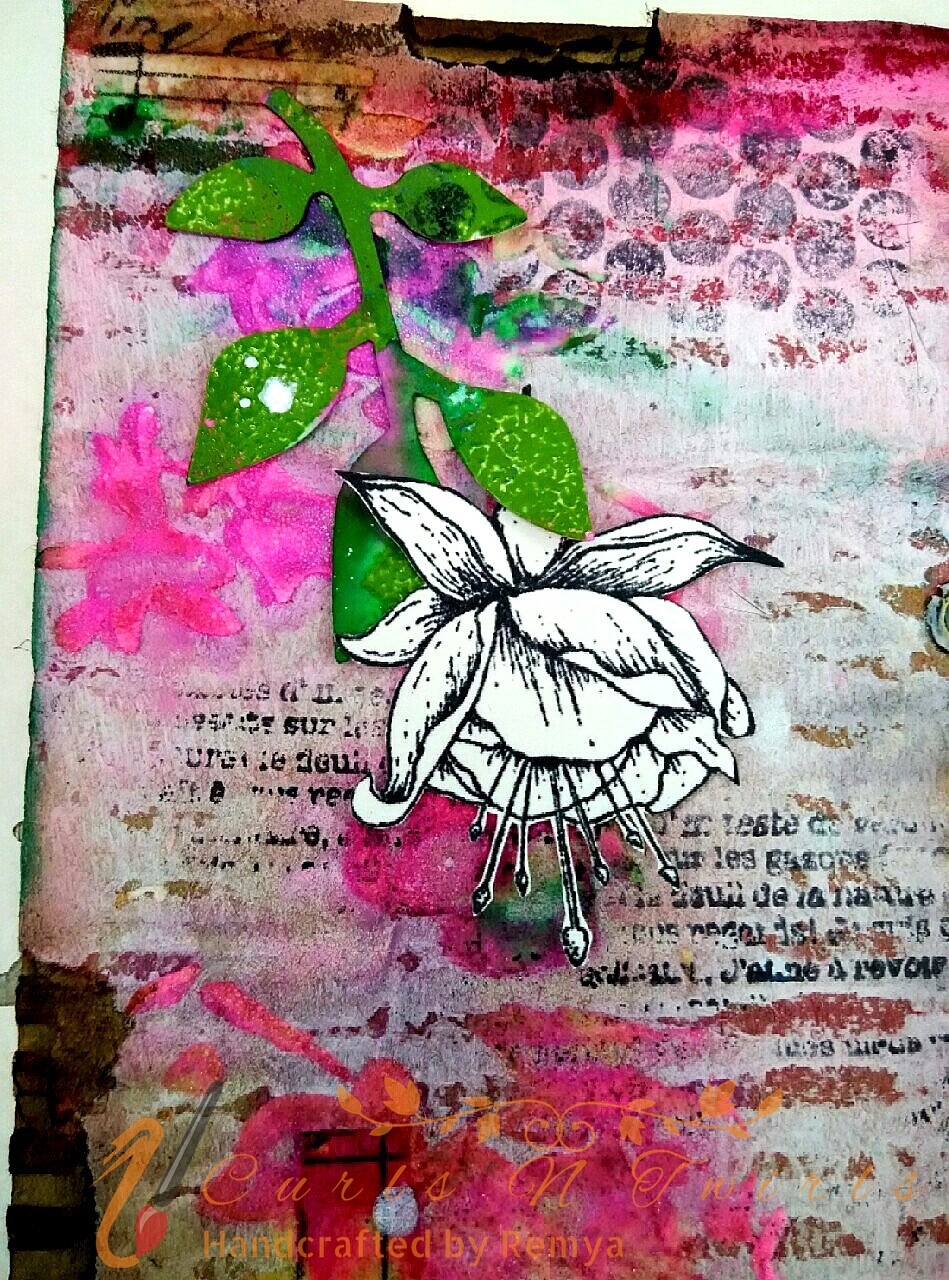
To start with , I have used the back side of the Canvas. First covered the entire backside with Tim Holtz Eclectic Elements Melange in neutral with Multi Medium Matte. Then blend Distress crayon Hickory smoke by rubbing along the inner edges. It gives a very smoky effect. Next I select the background papers from the laboratorie stash. I chose the 6×6 size paper of worn wallpaper. Stick it along the edges and the frame work is ready !


Now for the embellishments to go into the frame.
1. Ornate frame:
Die cut the Ornate frame and apply distress crackle on it. Once dry apply distress paint - Spiced marmalade, walnut stain , hickory smoke over it. This accentuated the cracks.


2. Bottles and SPOOKY alphabets:
The bottles were given a coat of distress crackle ( by now you would have guessed it - I Love Crackle ) and set aside for natural drying. It needs to dry naturally to get the real crackle effect. Heating makes the crackle paint to bubble up. Once dry I poured alcohol ink into it and moved it around , so that it covers the entire inner part. The cracks and alcohol ink gave it a very rusty look.

The alphabets " SPOOKY" was first painted with distress paint : picket fence and spiced marmalade before applying distress crackle.


I then cut out papers of poison labels and distressed it with old paper dye and walnut stain.

3. Pendant : 
This was my favorite of all. I cut out the picture of vintage lady from the laboratorie stash to fit the inner part of the pendant. The glass dome to fit on it was given a coat of alcohol ink. I stuck it using glossy accent .The ageing effect it gave was eye catching. 


Once all the embellishments were completed , assemble them into the back of the canvas. The ghost die is from Sizzix : Ghosts #2 Halloween Sizzix Originals Ghost Die


Hope you all enjoyed this fun and spooky canvas .

Materials used:

Tim Holtz Laboratorie paper stash
Tim Holtz Sizzix Alterations Ornate Frame Bigz Die
Multi Medium Matte
Alcohol Inks - Sunshine Yellow , Slate
Distress paint  Spied marmalade , hickory Smoke , picket fence
Distress ink pads
Glossy accent
Ghosts #2 Halloween Sizzix Originals Ghost Die


Hugs
Remya


Tuesday 16 August 2016

Cardboard Junk Journal Layout

Dear Friends,

Creating  Mixed Media journal pages are something I have started to indulge in of late.
But, my heart gives a leap when I think of using beautiful pattern papers or canvas boards to start with. frequent blog hopping brought to fore Cardboard as substrate. I have a huge collection of cardboard pieces, thanks to the online shopping gala!
These cardboard ended up being a junk journal - a place to experiment my creativity!


The method is the same always. Prepare the page by applying Gesso. Play along with colours - I chose Pink and yellow. Apply texture paste through stencil. Few stamping and embellish it .
A few close up of the pages.


Thanks for stopping by 

Hugs
Remya

Monday 15 August 2016

A Passport Holder with a difference !

Fellow Crafters,


Today, we would have a sneak peak into the crafty multi-purpose passport holder. This has been made with nothing but paper & cardstock. Cutting to the chase, lets discuss on how to make it.

Step 1: 
Cut a cardstock measuring 8 x 5.75 inchs


For the inner pocket cut two cardstock measuring 1.75 x 5.75 inch


Before attaching the inner pockets paste pattern paper on the side. It adds to the perfection!


Once the interiors are done , time to work upon the external beauty of this passport holder. Use Pattern papers of your choice to decorate the front - rear flaps!!


Decorated the front flap using gorgeous Itsy Bitsy embellishments.

Next was a matching card to go with it. Best suited for gifting as this is something which all cherish close to their heart . 


Passport sits cosily inside the holder along with a sweet card .


Hope you enjoyed this !!

Hugs
Remya

Sunday 14 August 2016

Reading with my "Owly" Bookmark !!

Fellow  Crafters,

One thing you always miss if you were a reader is - a Bookmark. Many a times you would never find one and you either land up in missing the page or use some "out of the  box" items as a bookmark. For sure its not my story alone.

An avid reader by heart , I always love bookmarks. Always used to make sure that I collect bookmarks where ever I get them - sometimes free or at times spend money over them too - for those fancy ones. I should be saying that - am always tempted to buy bookmarks where ever I go.


This time around, thought of giving my "arty" touch some work in creating a bookmark for myself. With my habit of reading through whole night to ensure that I finish an interesting thriller, the only thing came into my mind was an "OWL" as a bookmark ! Here below, I wish to explain how i made my "Owly" Bookmark.


Its a  Super easy project, made using up those scraps lying around in my craft room and the Sew piercing tool with floss .  


Here's how to make them.

You will need:
  • Scrap papers
  • Sew Piercing Tool
  • Floss
  • Beads
  • Silicon glue
  • Googly Eyes

Draw Freehand Owl on a scrap piece of paper - don't blame me if my owl trace looks like a cat. :) 


Once you are convinced about the owl, or have compromised to the look, trace it onto pattern paper and cut it out. Use the piercing tool to pierce holes along the sides to create a border. My chequered Owl - took this pattern paper as I wanted to make my Owl a bit adorable - away from the cliché brown !


Use needle and floss to stitch along the holes. I chose blue color floss as it gels well with the pattern paper. Once stitched along the sides decorated it with  eyes and beak cut out from scrap papers.


Next I took floss and braided it and attached beads at the end. It was easy for me since braiding my hair was my daily routine during my school days to bring up a "studious" nature in me. Using the bead to lock the pattern is a bit difficult - you have to make sure that the knots you make into the floss is large enough to get "locked" inside the bead. Once locked use a drop of glue to seal it off.


To make sure that I dont leave it blanche, added googly eyes using silicon glue for more realistic look - and to add a bit of beauty !


Happy reading, Happy crafting and make sure you are watching the owl looking at you :)

Hugs
Remya

Monday 11 July 2016

Remembrance

Dear Friends,

Benefits of using monotone color schemes are many. It gives a sense of simplicity and harmony to the product and also makes it easier for the artist by eliminating the mammoth task to match the colors to be used.

This is my first attempt of doing a monochromatic art work. Benefits were many but frankly I found it challenging to depict a theme through just one color.

Me being a person who once in a while traces my path back into my memory lane, find that always monochromatic. No candies for guessing why I chose Black here.


An illustration of various stages this journal went through is given below.

Step 1

As usual, nothing in mixed media starts without Gesso. Give a nice coat of Gesso to the pages. I used art basics Heavy Gesso - White on the cardboard substrate.


Step 2

I chose Tim Holtz Layering Stencil - Gears to provide the "mechanical edge" to the monochromatic art work and applied Ranger texture paste through it.


Step 3

The black tone - I wanted to use Distress Sprays - alas I did not have it with me. I went forward with Lindy's Spray. The spray usage was tricky. It was more of a "controlled detonation" so as to avoid landing up with a black sheet in hand! Had to dab out lots and also had to make sure in diverting the color flow to the needed places.

A word of caution
Be very careful when you spray darker shades.


Step 4

To add something from my "floral side" stamped floral image on to the background. Used strips of Tim Holtz tissue wrap melange on the inner edges of the page to depict my theme of "remembrance"

Next was to embellish with Mannequin from Tim Holtz Ephemera pack and square cuts from Tim Holtz Laboratorie paper.


Materials Used


  • art basics Heavy Gesso - White
  • Tim Holtz Layering Stencil - Gears
  • Ranger texture paste
  • Lindy's Spray - Black
  • Tim Holtz tissue wrap melange
  • Tim Holtz Ephemera pack
  • Tim Holtz Laboratorie paper
Love

Friday 8 July 2016

The Mother !

Dear Friends,

A family is an eco-system that revolves around a pivot - Mother. And no family is complete without a Mother. Being a mom myself, I cherish every moment I spent with my kid. The Love , the warmth we give goes a long way and helps them to be a better person. Thought to make "The Mother" focal in my new mixed media journal.


Once the picture was decided upon I went about thinking how I could enhance it with a background which would match the real HERO in everyone's life. Out came my little box of die cuts and chose Ornate Frame Die. Its so Elegant and Charming - matching the lady in the center !

A bland die cut did not do justice to the excellent image. So gave a coat of distress crackle paint Rock Candy. Once the cracks appeared, smudged it with Brushed Pewter distress paint. This gave the Vintage effect to match it with the monochromatic picture.


Once the frame was finalized, the background had to be prepped up. Used red, yellow and white acrylic paints for the background. To give another dimension to the work, got the Tim Holtz Layering Stencil - Flourish and applied Ranger Texture paste over it. Viola - the background was ready for the frame.


Finally embellished it with few flowers and leaves - you may hardly see any of my creations deprived of flowers. The leaves are from Sizzix Die - Garden Greens. To give a shine and gloss to the leaves - I embossed it using Fern Green embossing powder.

Materials Used


  • Image Courtesy : gomakesomething.com
  • Distress crackle paint rock candy
  • Brushed pewter distress paint
  • Ornate Frame Bigz Die
  • Acrylic Paints
  • Layering Stencil - Flourish
  • Ranger Texture paste
  • Fern green embossing powder
  • Sizzix Bigz Die Garden Greens
Linking this to Frilly and Funkie Challenge : All in the Family
Related Posts Plugin for WordPress, Blogger...